Stage 01
Where we started
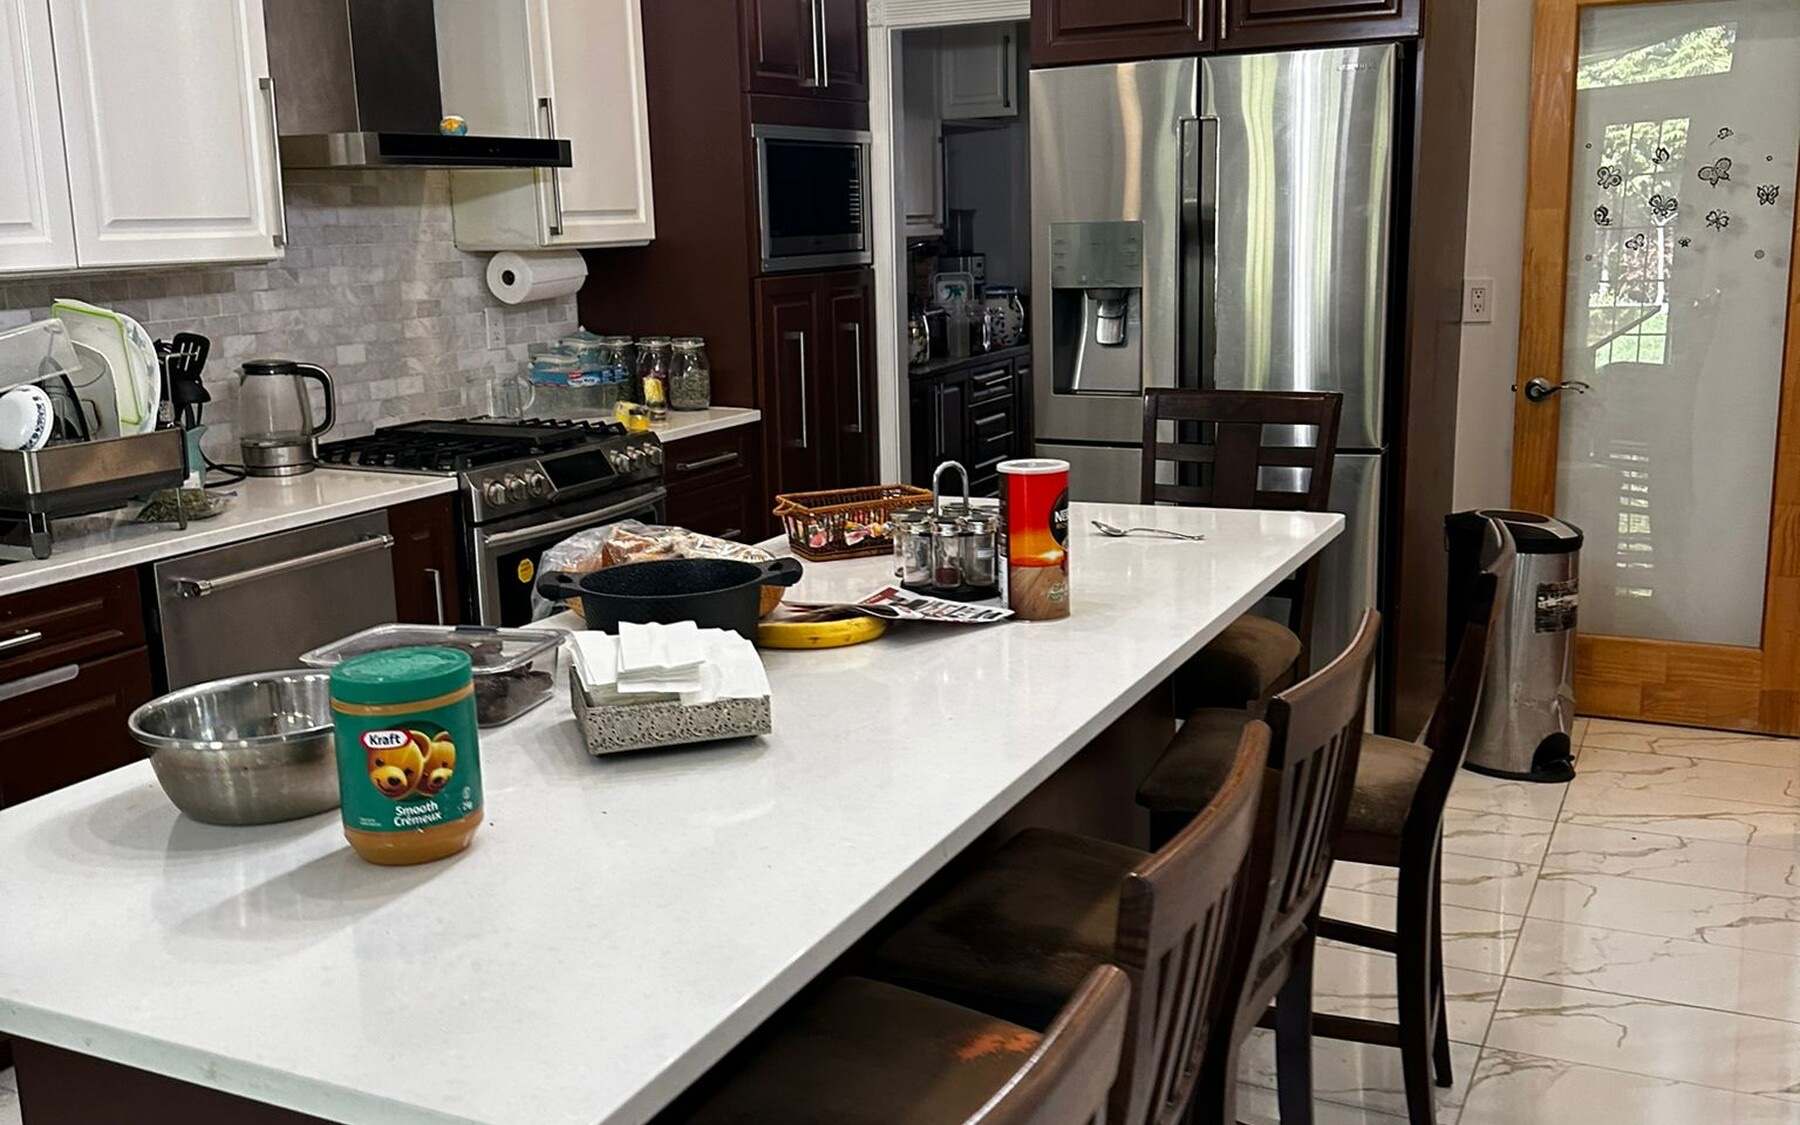
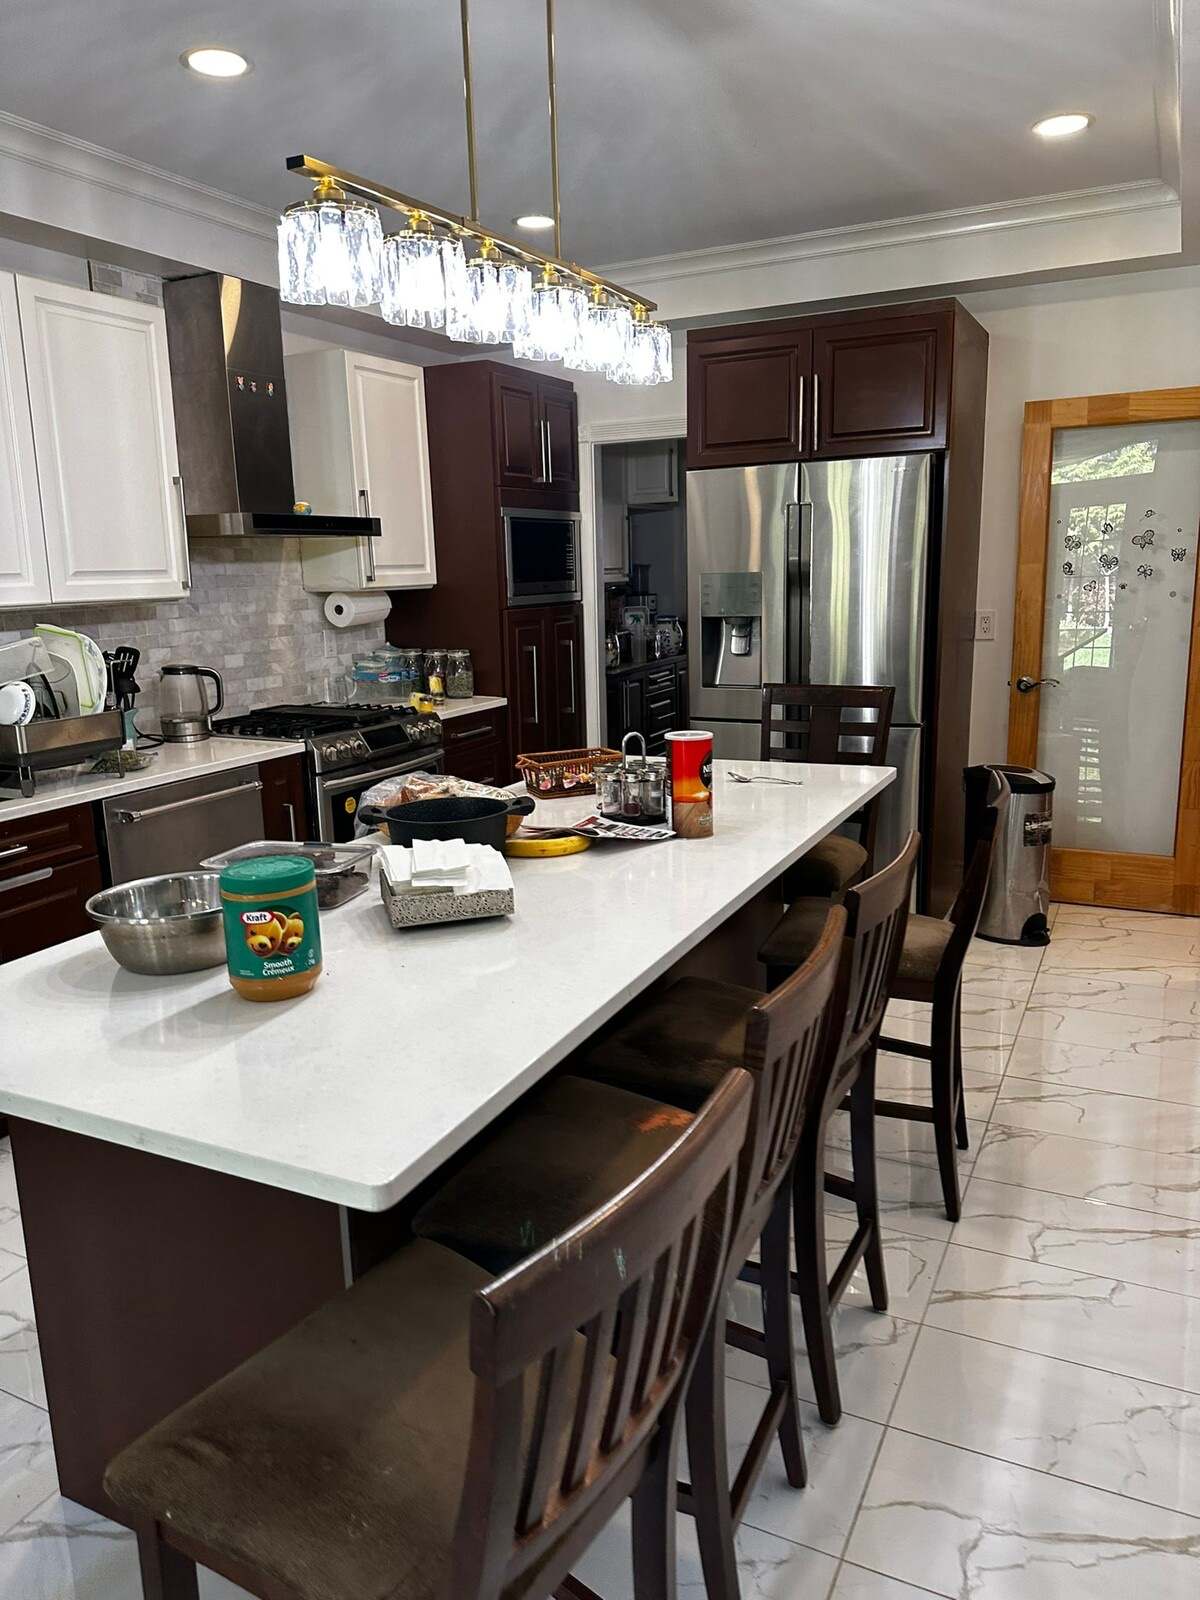
A long, enclosed galley in dark cherry, closed off from the living area by a full-height wall. Plenty of cabinetry, but the room read as a corridor — and the wall meant whoever was cooking was cooking alone.
A dated kitchen, completely reimagined.
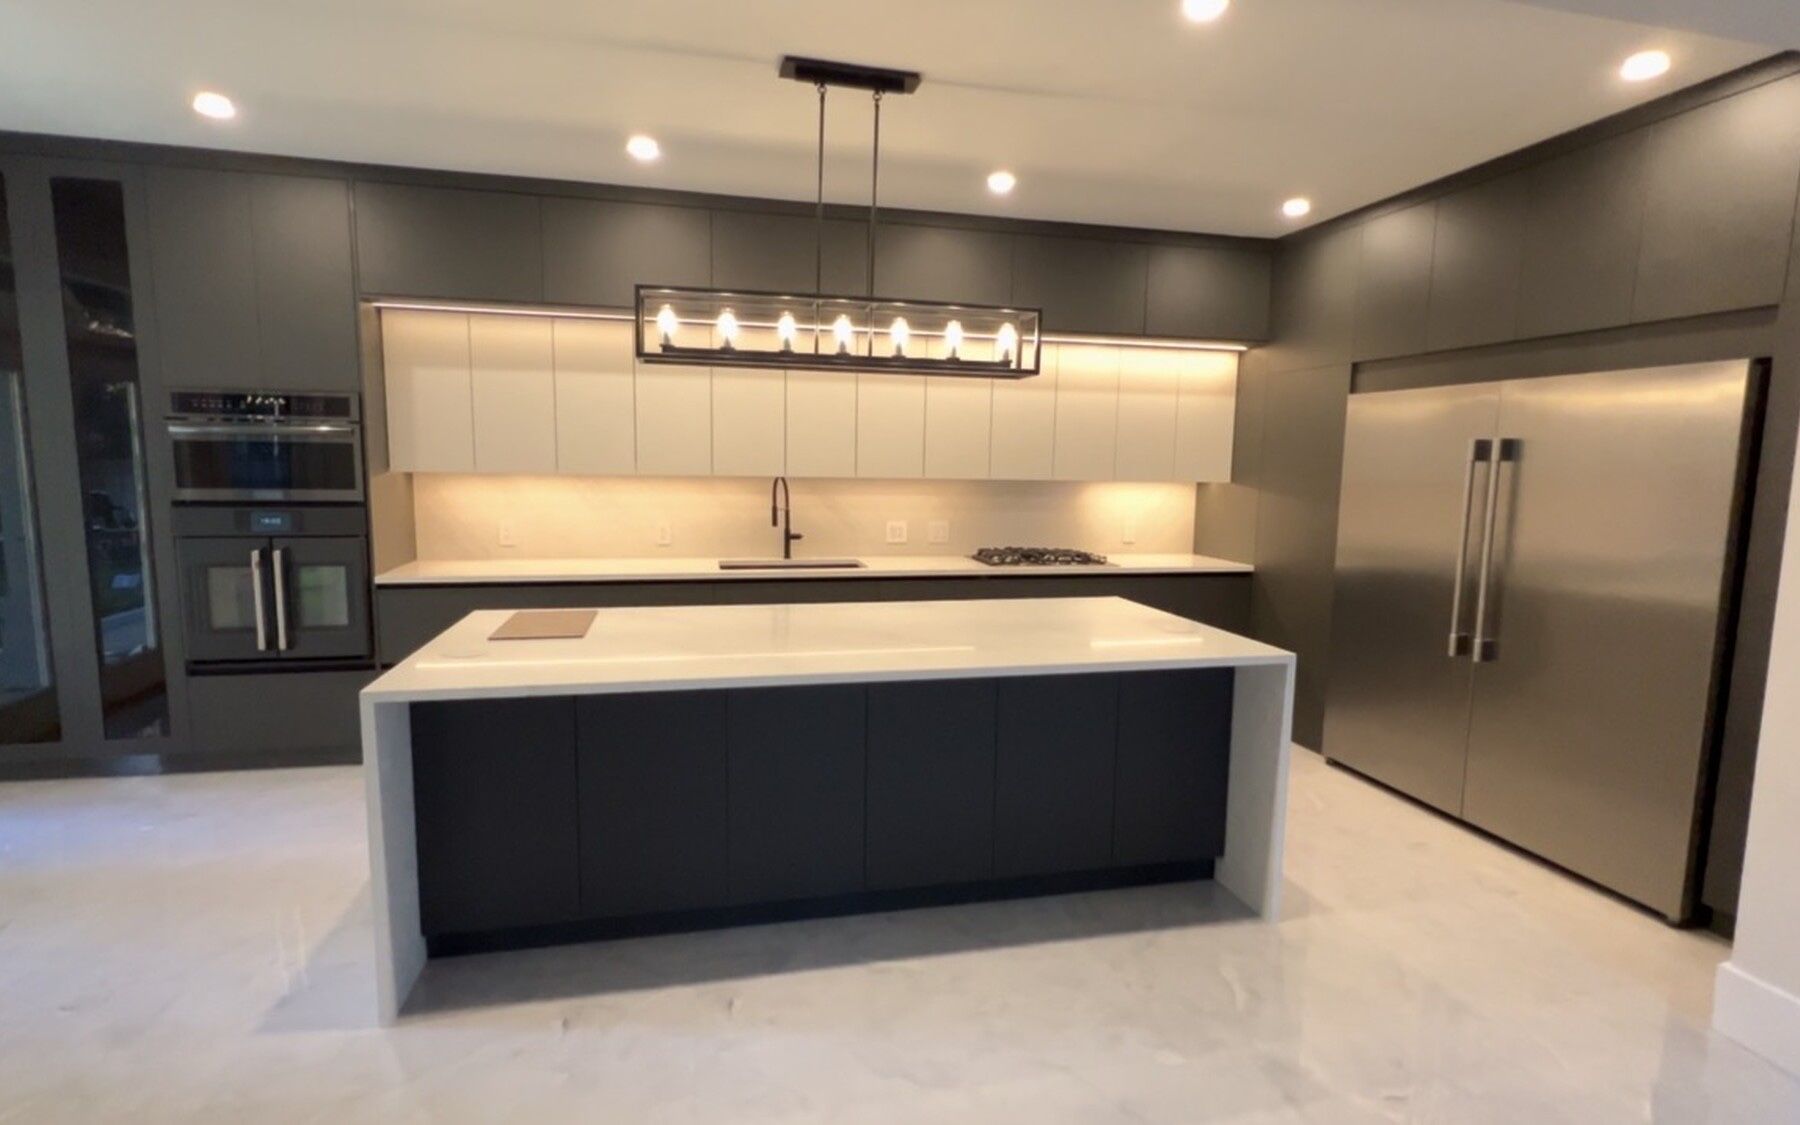
An enclosed, dark galley kitchen opened up into a bright, connected main floor — structural wall out, beam in, and a full run of two-tone handleless cabinetry built for the new layout.
The original kitchen felt visually busy and disconnected from the adjoining living area. The goal was not simply to replace the cabinetry, but to rethink how the entire space worked. The existing kitchen and dividing wall came out, the new opening was reinforced with a beam and posts, and the room was rebuilt from there — electrical, drywall, paint, flooring, and the complete design, fabrication and installation of custom cabinetry.
This was a complete interior renovation. The photo story below follows the kitchen and main floor, where the biggest structural change happened.
7 stages, photographed on site as the work ran.
A long, enclosed galley in dark cherry, closed off from the living area by a full-height wall. Plenty of cabinetry, but the room read as a corridor — and the wall meant whoever was cooking was cooking alone.
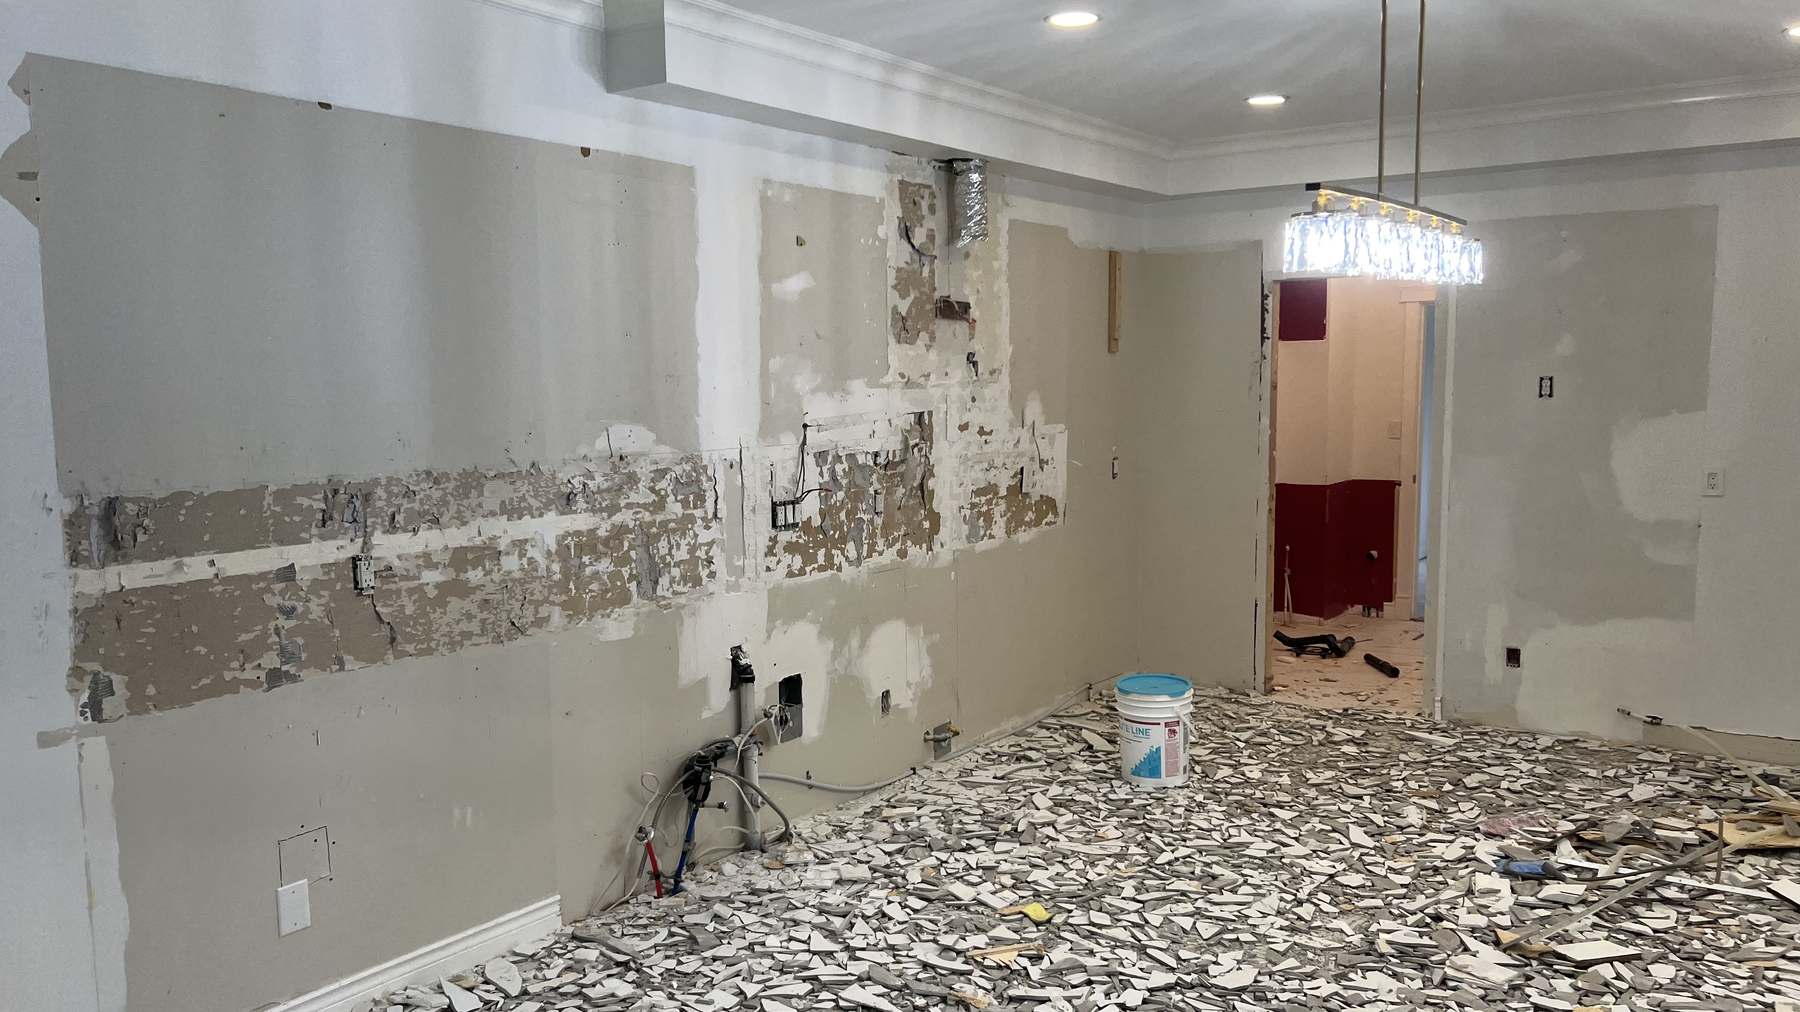
Cabinetry, counters, backsplash and finishes came out back to substrate, and the dividing wall came down. Everything that follows depends on this stage being done cleanly — so services were traced and made safe before a single cabinet moved.
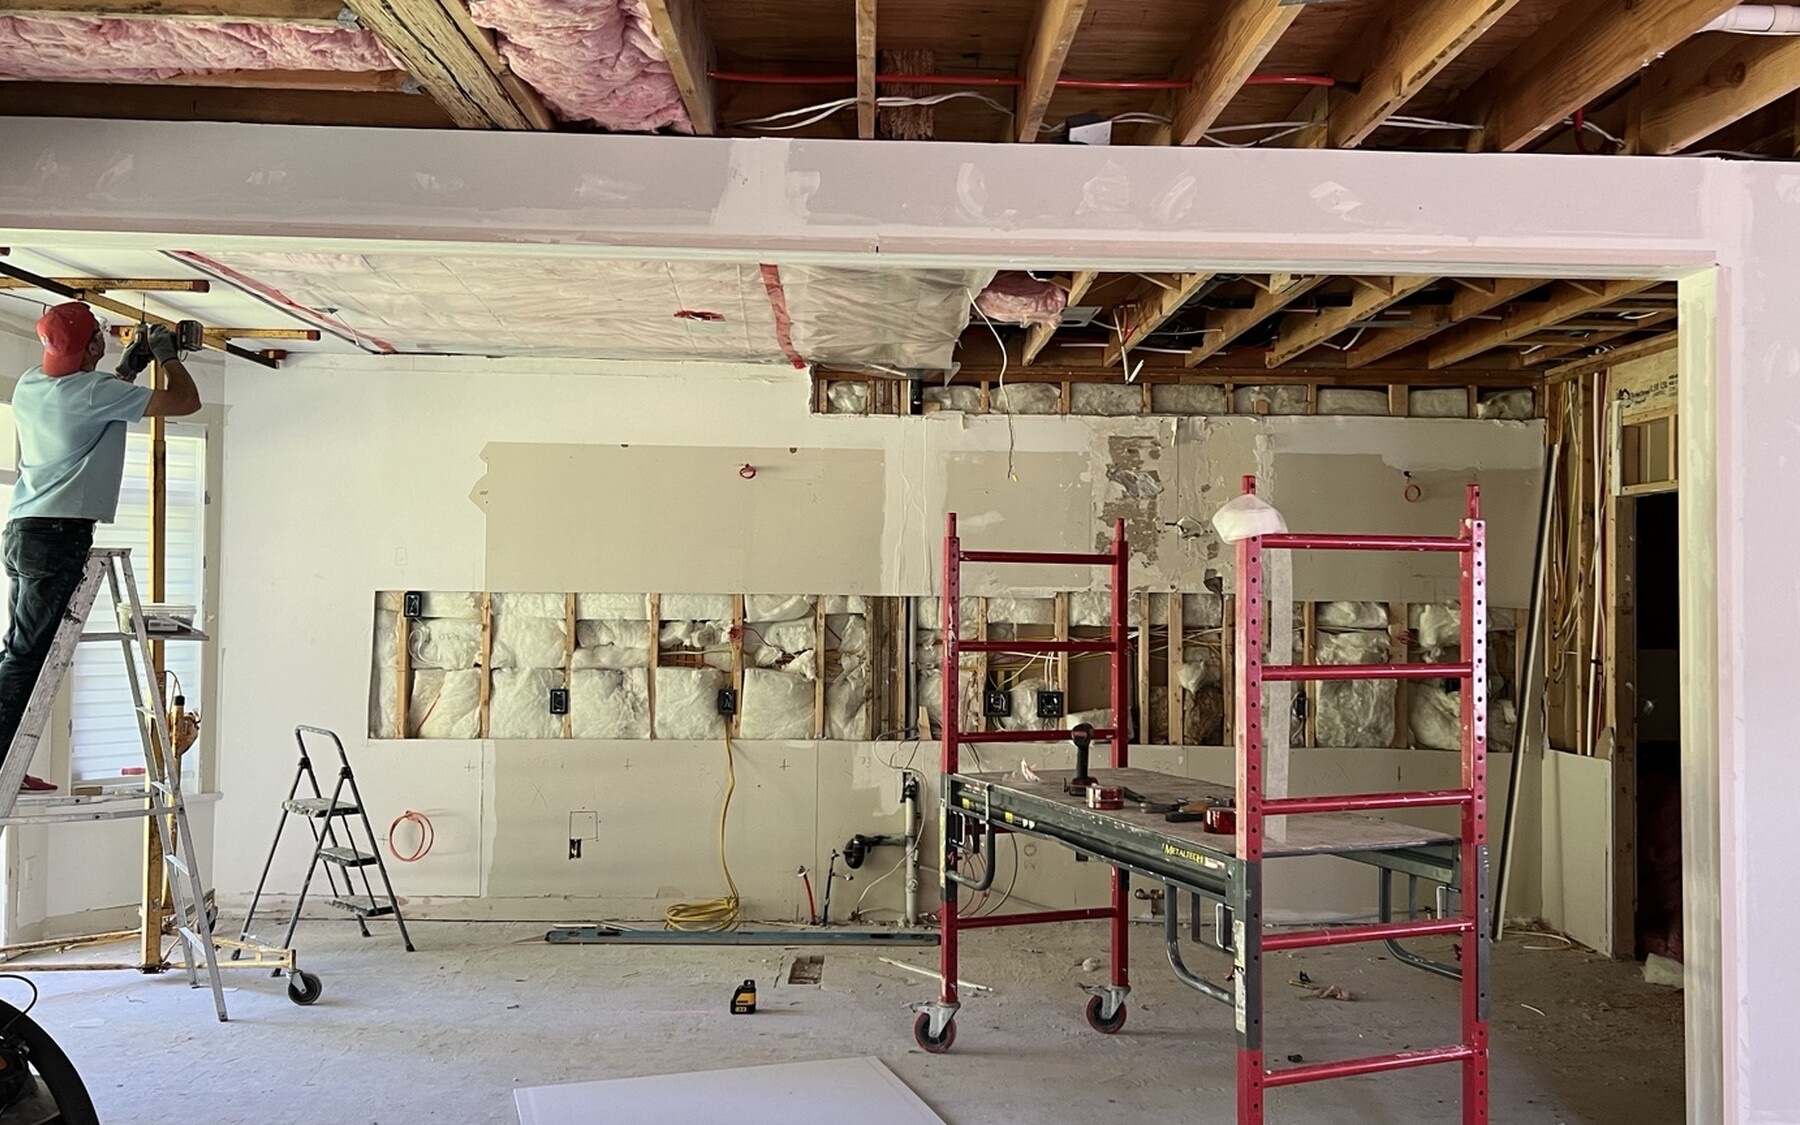
With the wall gone, the span was picked up on a new beam and posts. Rough electrical was re-run for the revised layout — outlets, under-cabinet circuits and the new pendant positions — while the ceiling was still open.
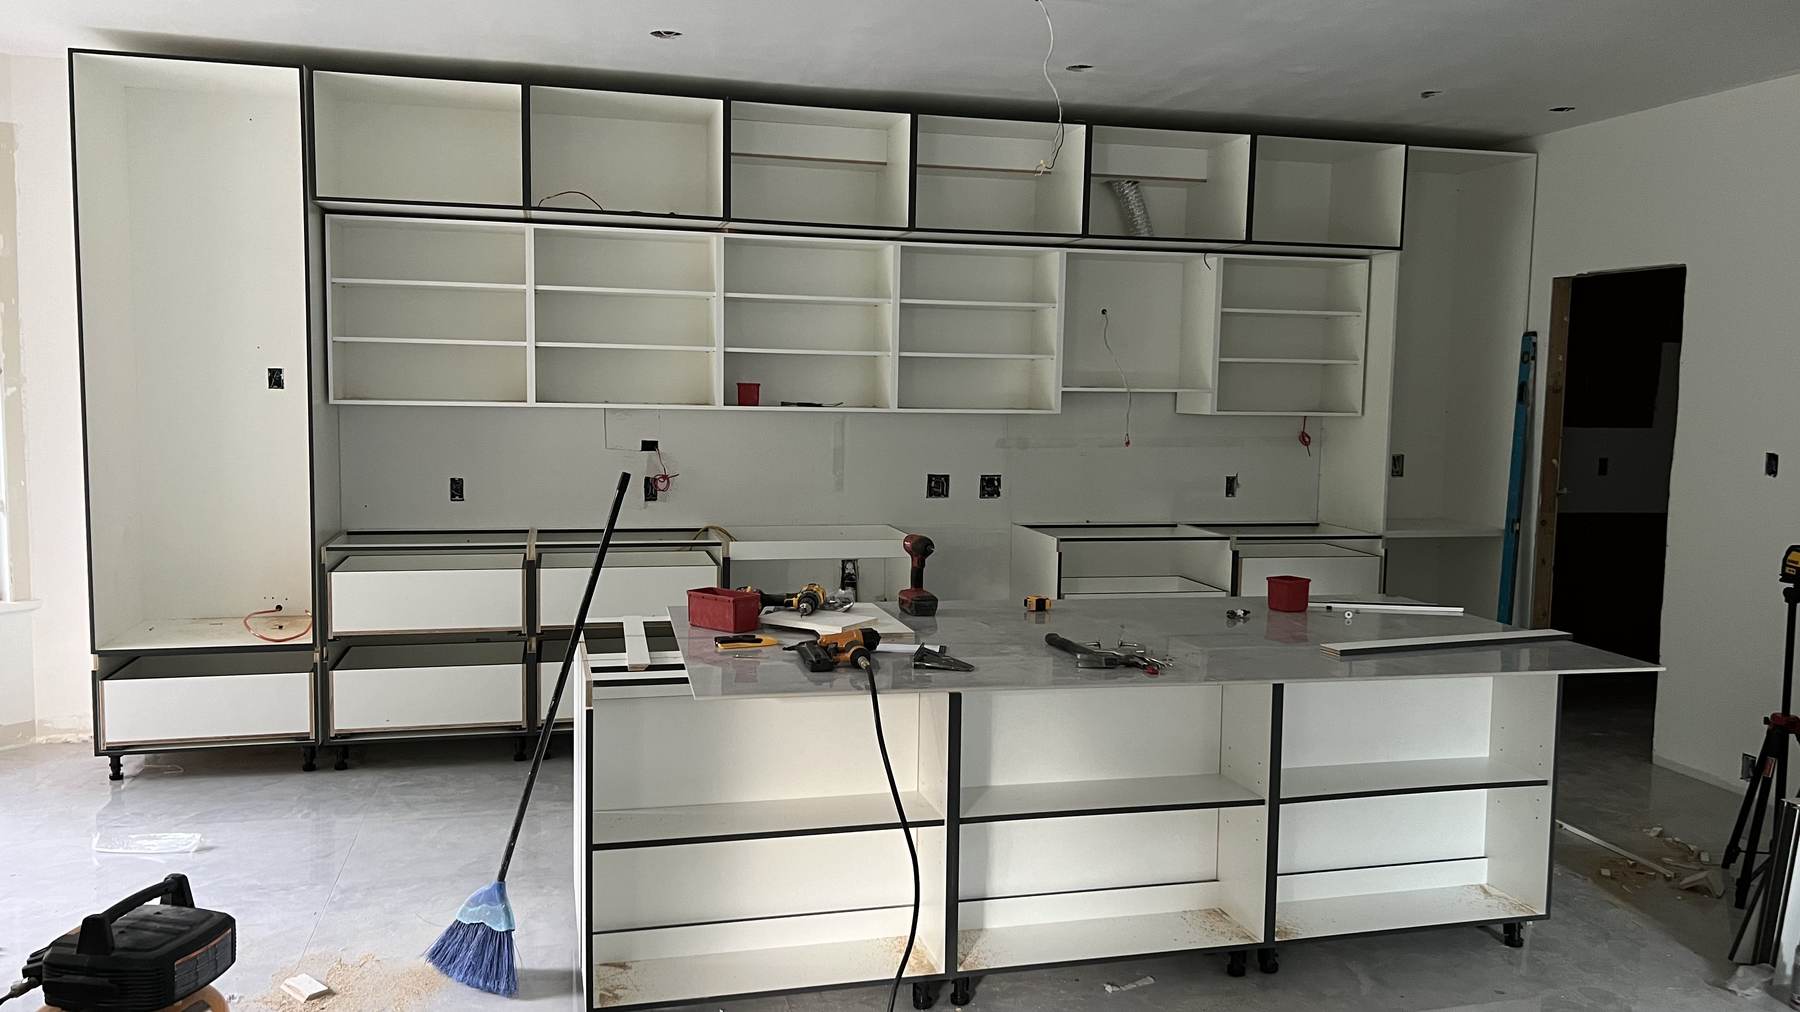
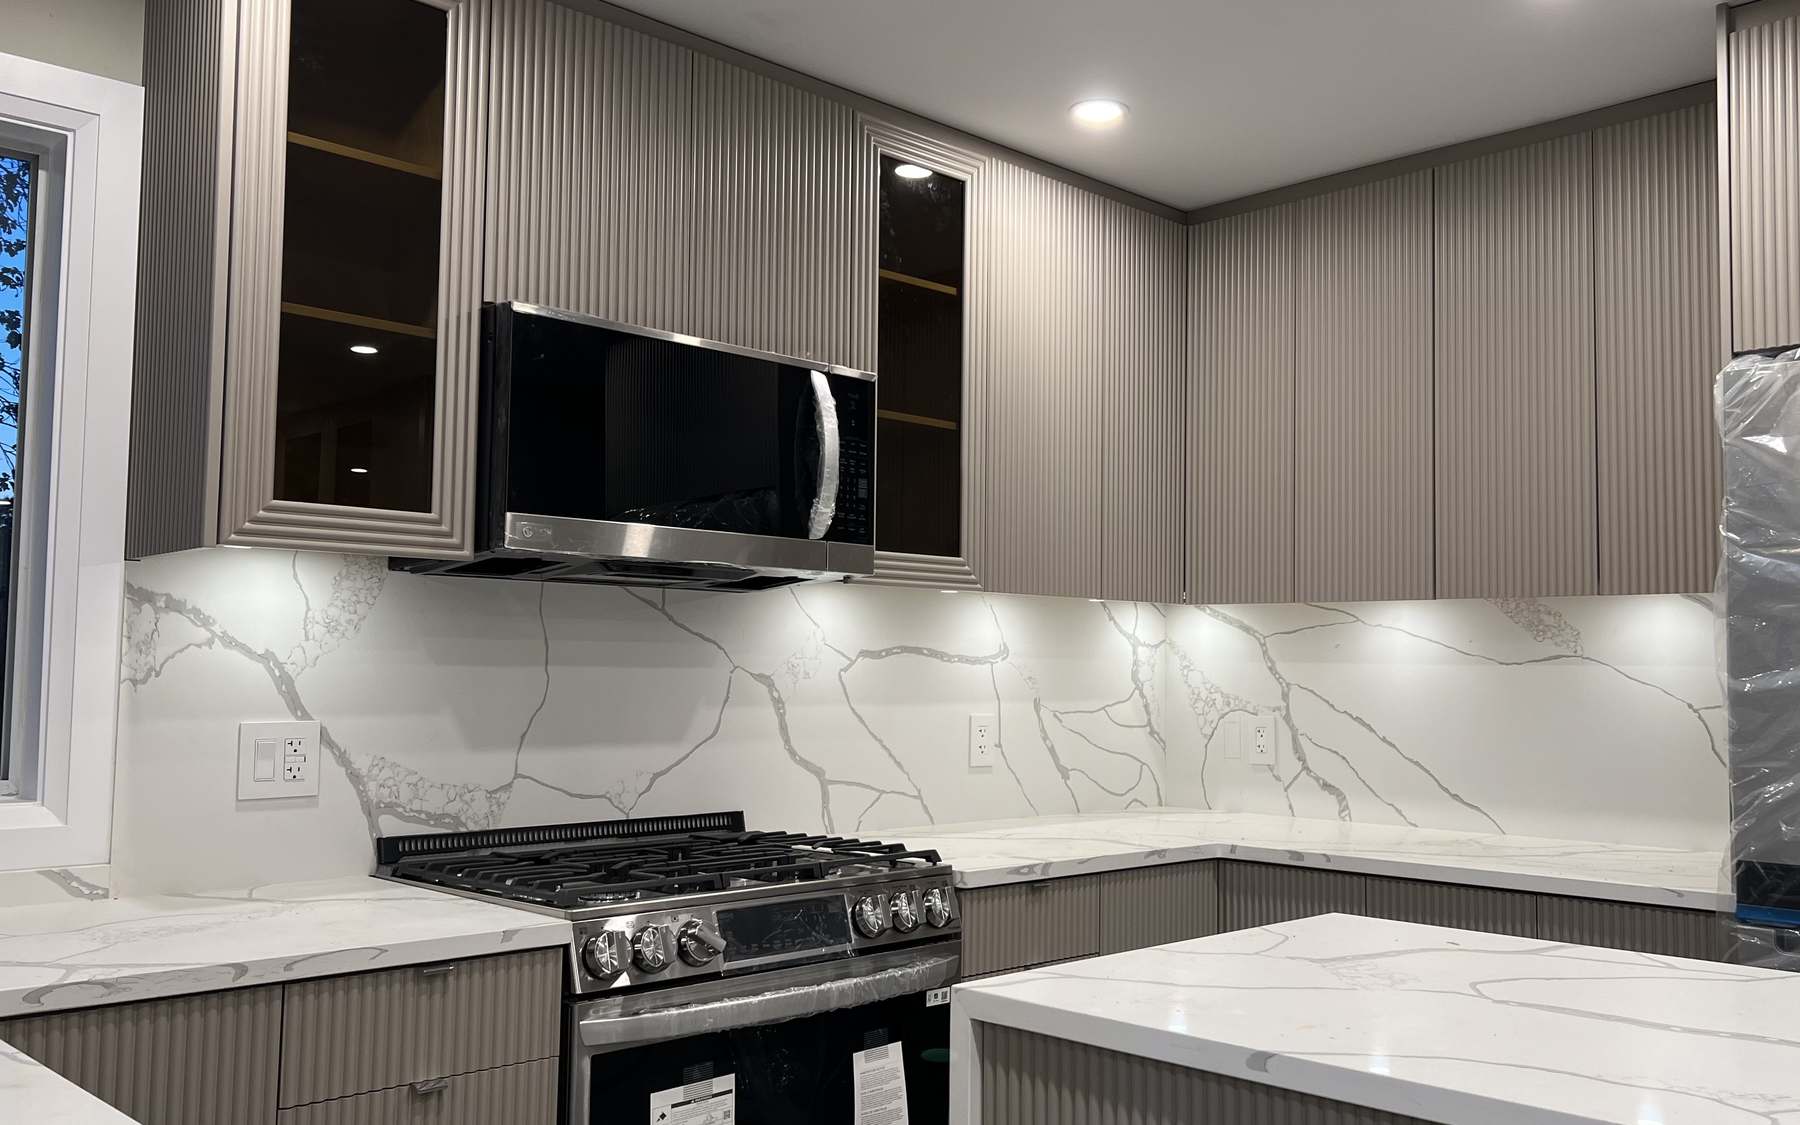
Carcasses were set, levelled and scribed to the room — a full-height run down one wall and the island frame in the centre. Custom work earns its keep here: every box is sized to the walls it actually meets, not to a catalogue.
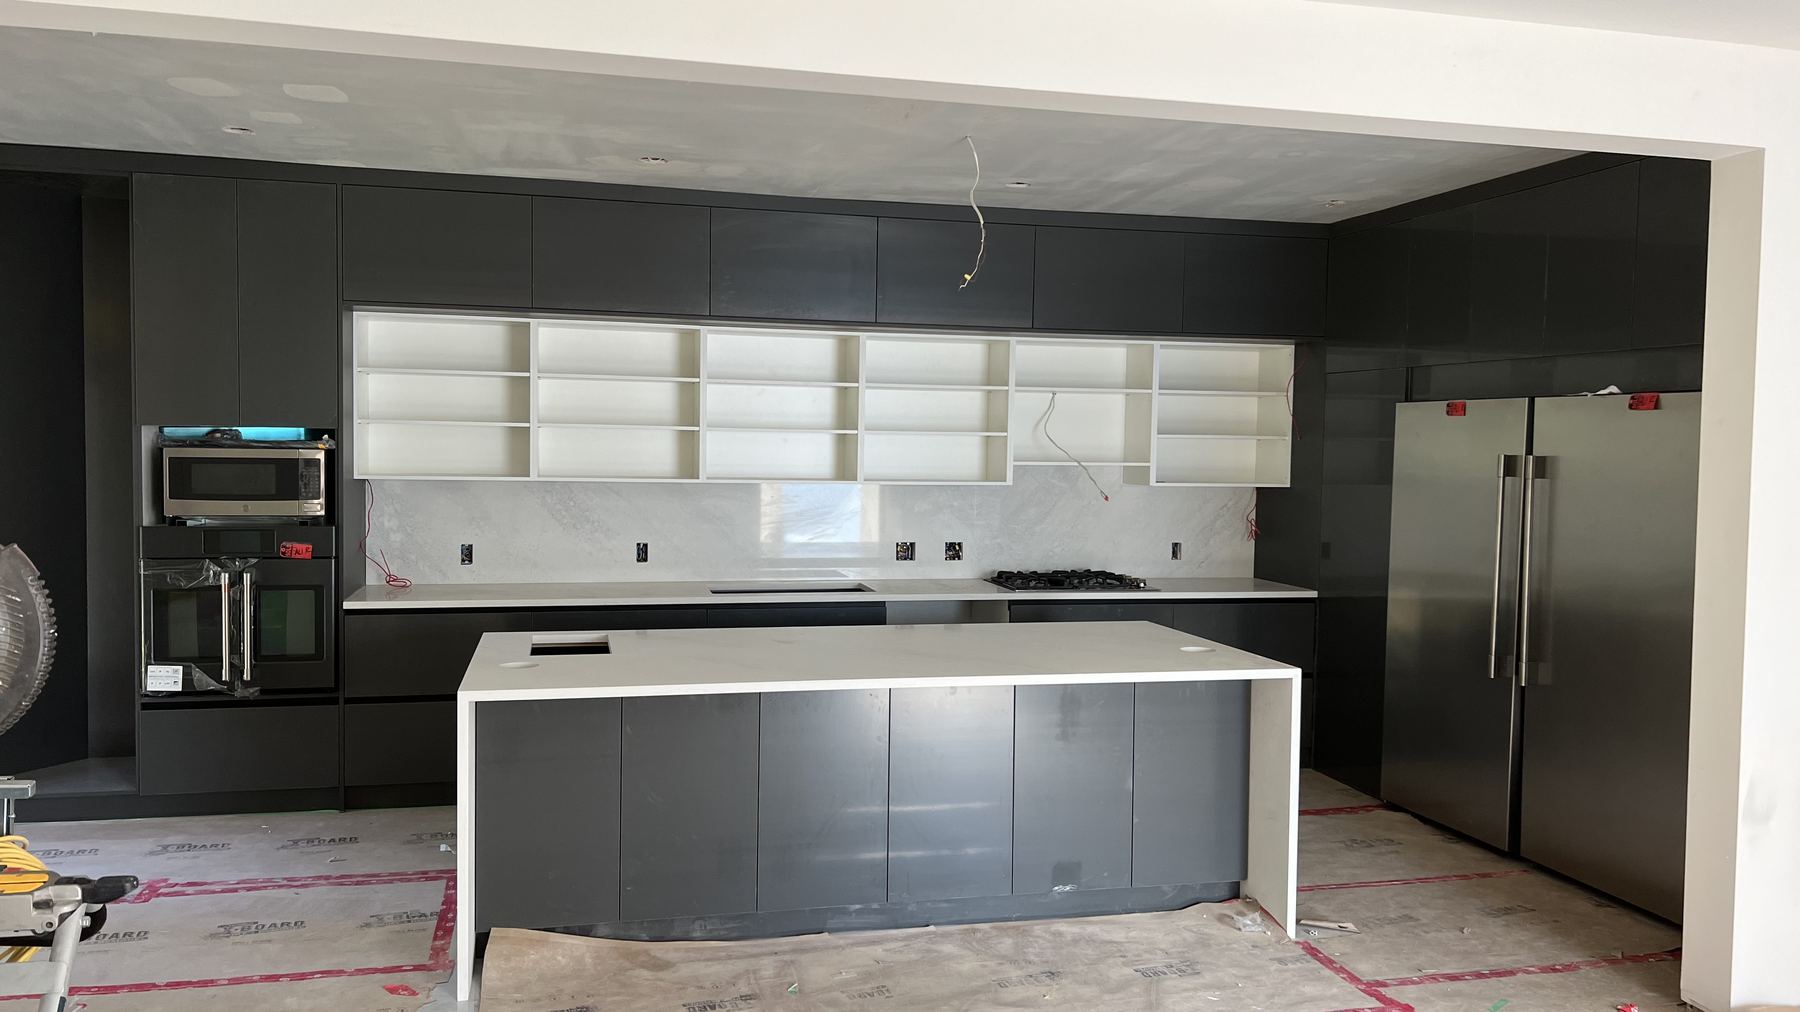
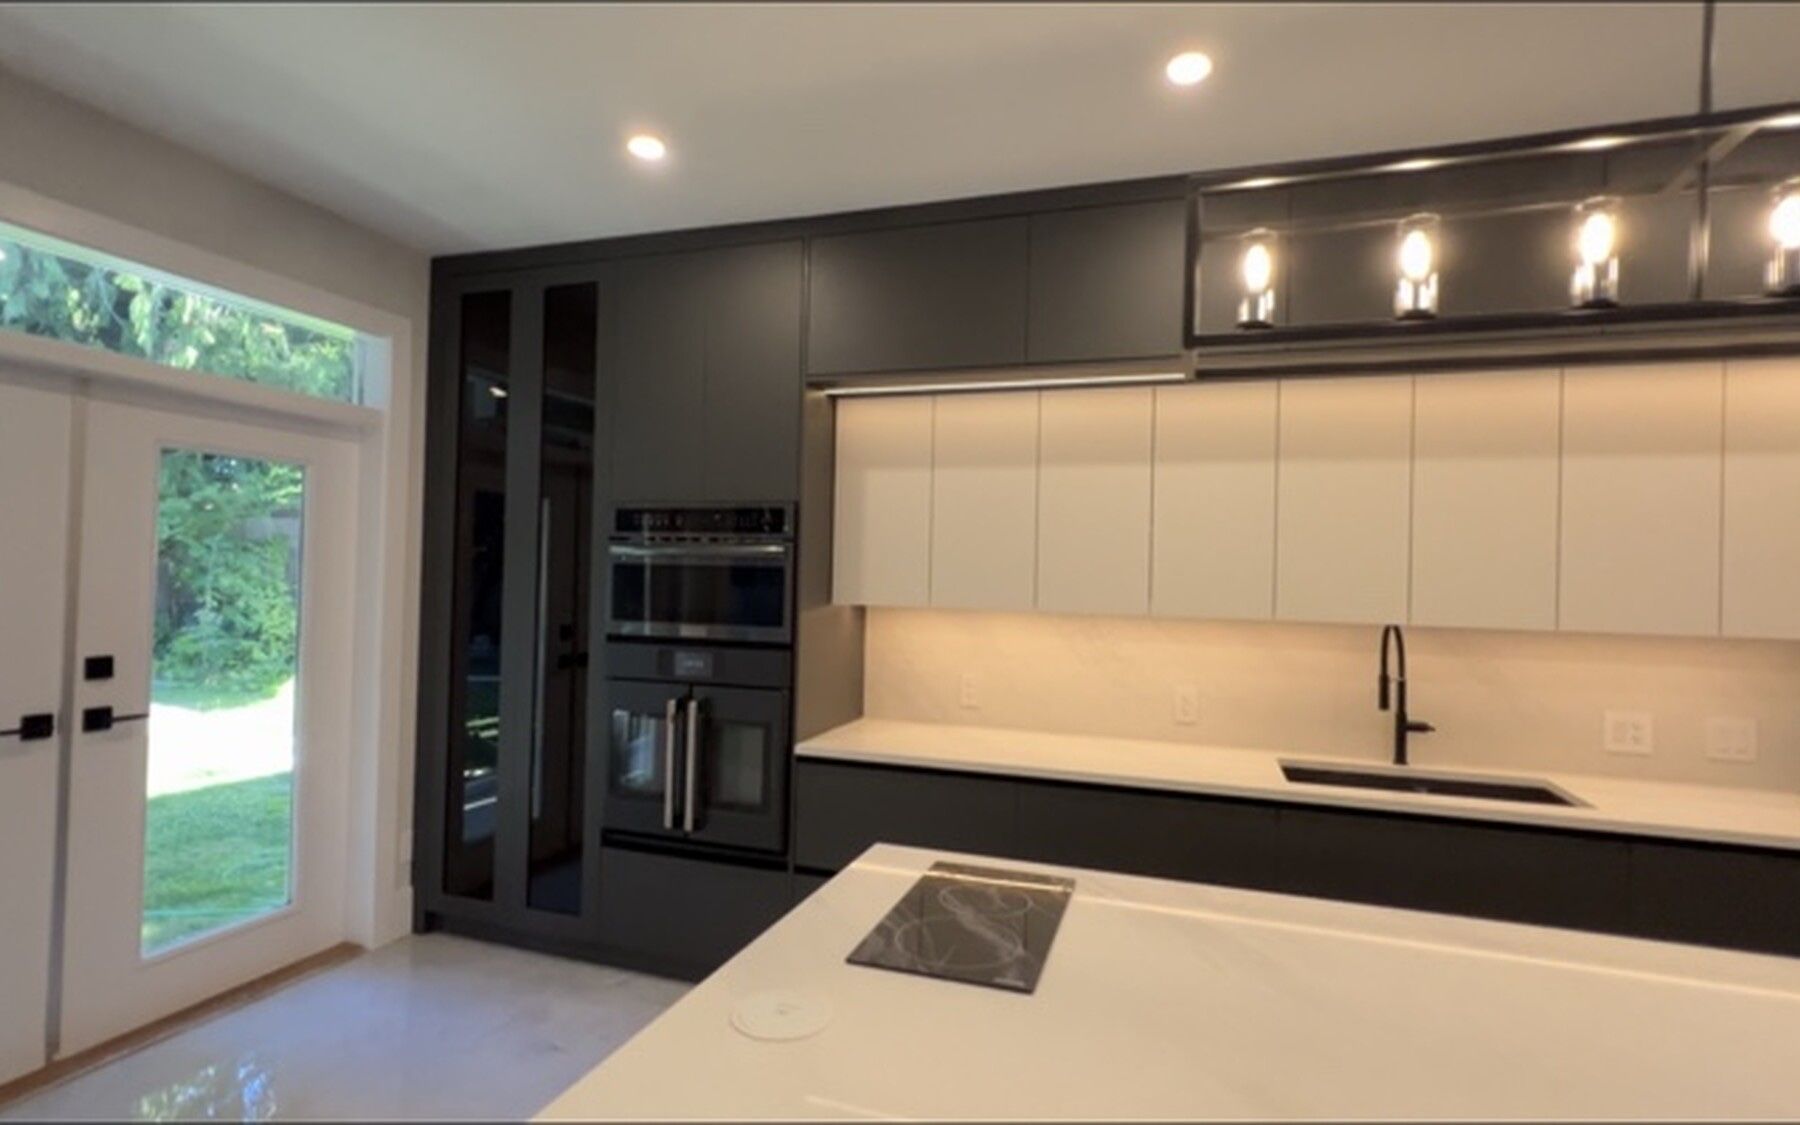
The dark handleless fronts went on, the tall appliance bank was integrated, and the island took its final form. Full-height storage runs wall to wall, so nothing sits on the counters that doesn't need to.
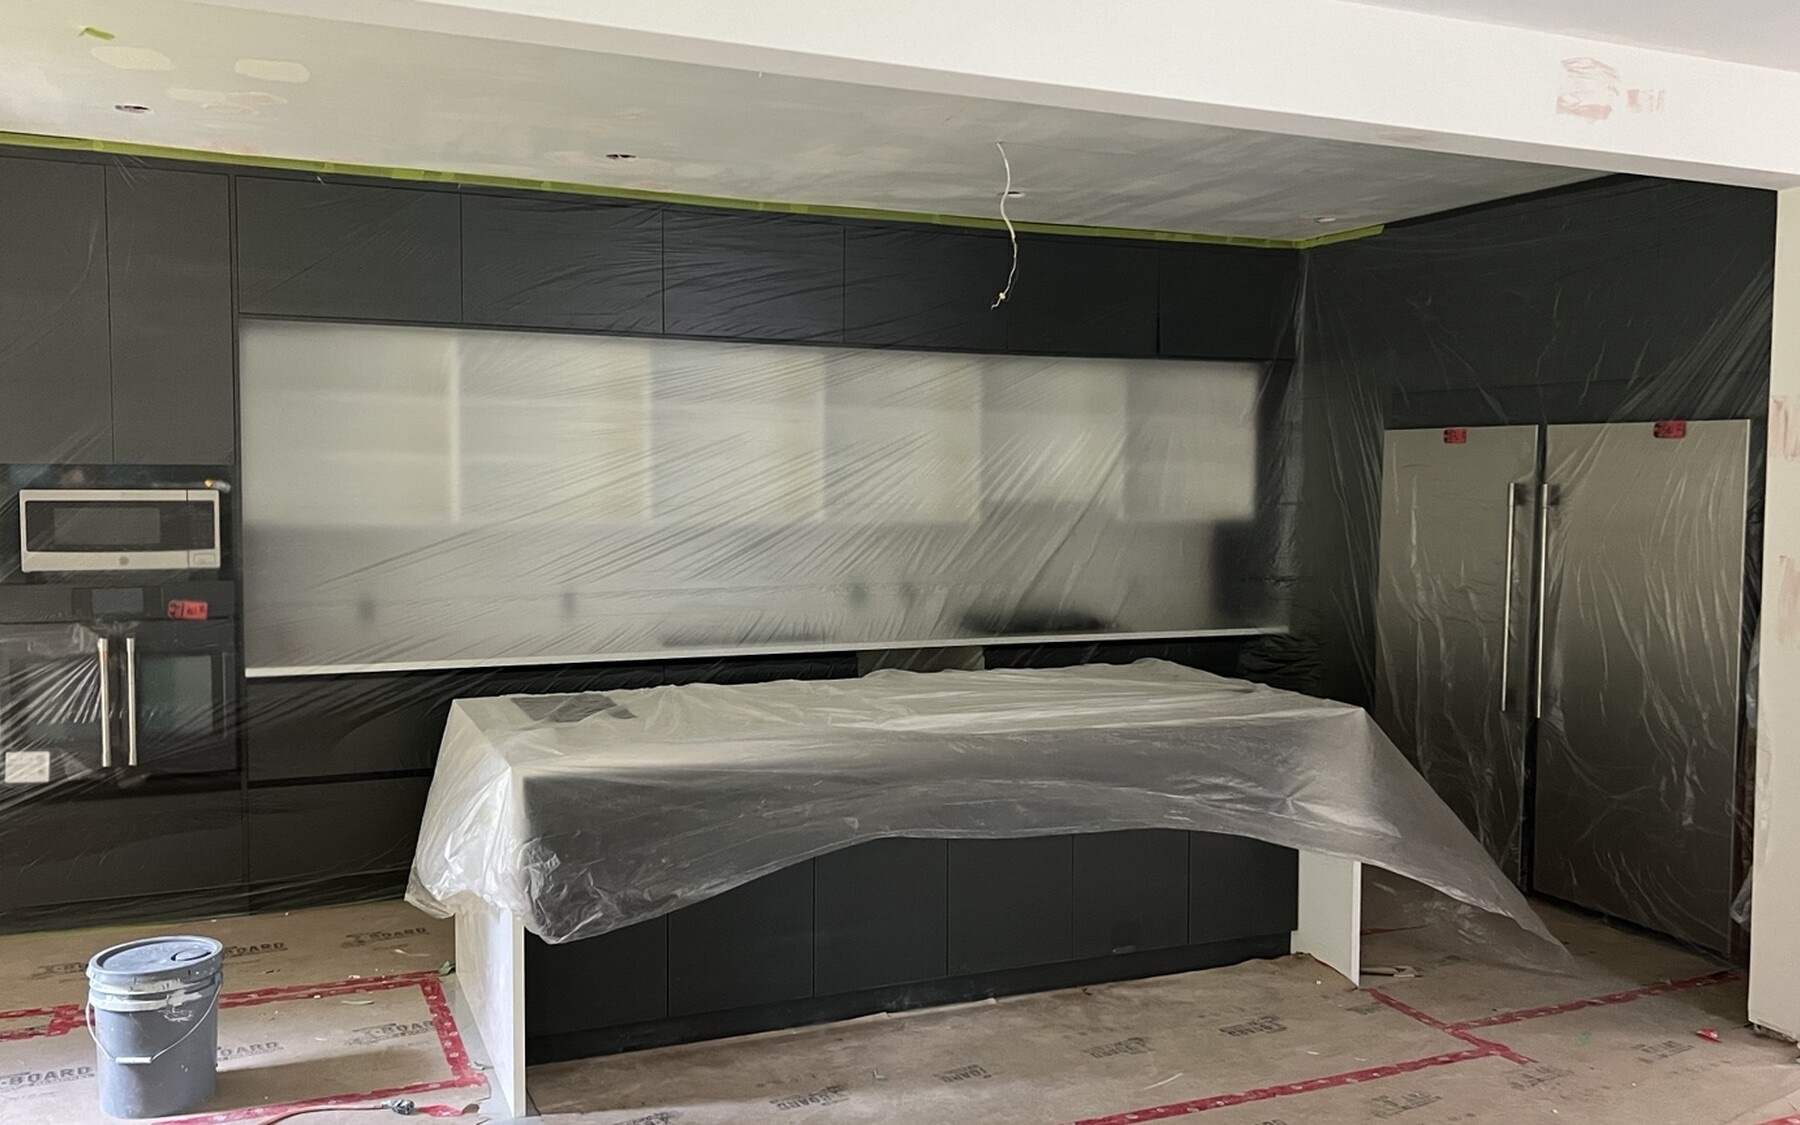
Floors down, paint on, stone set — all of it under sheeting, with the finished cabinetry wrapped. The unglamorous stage, and the one that decides whether a kitchen still looks new in five years.
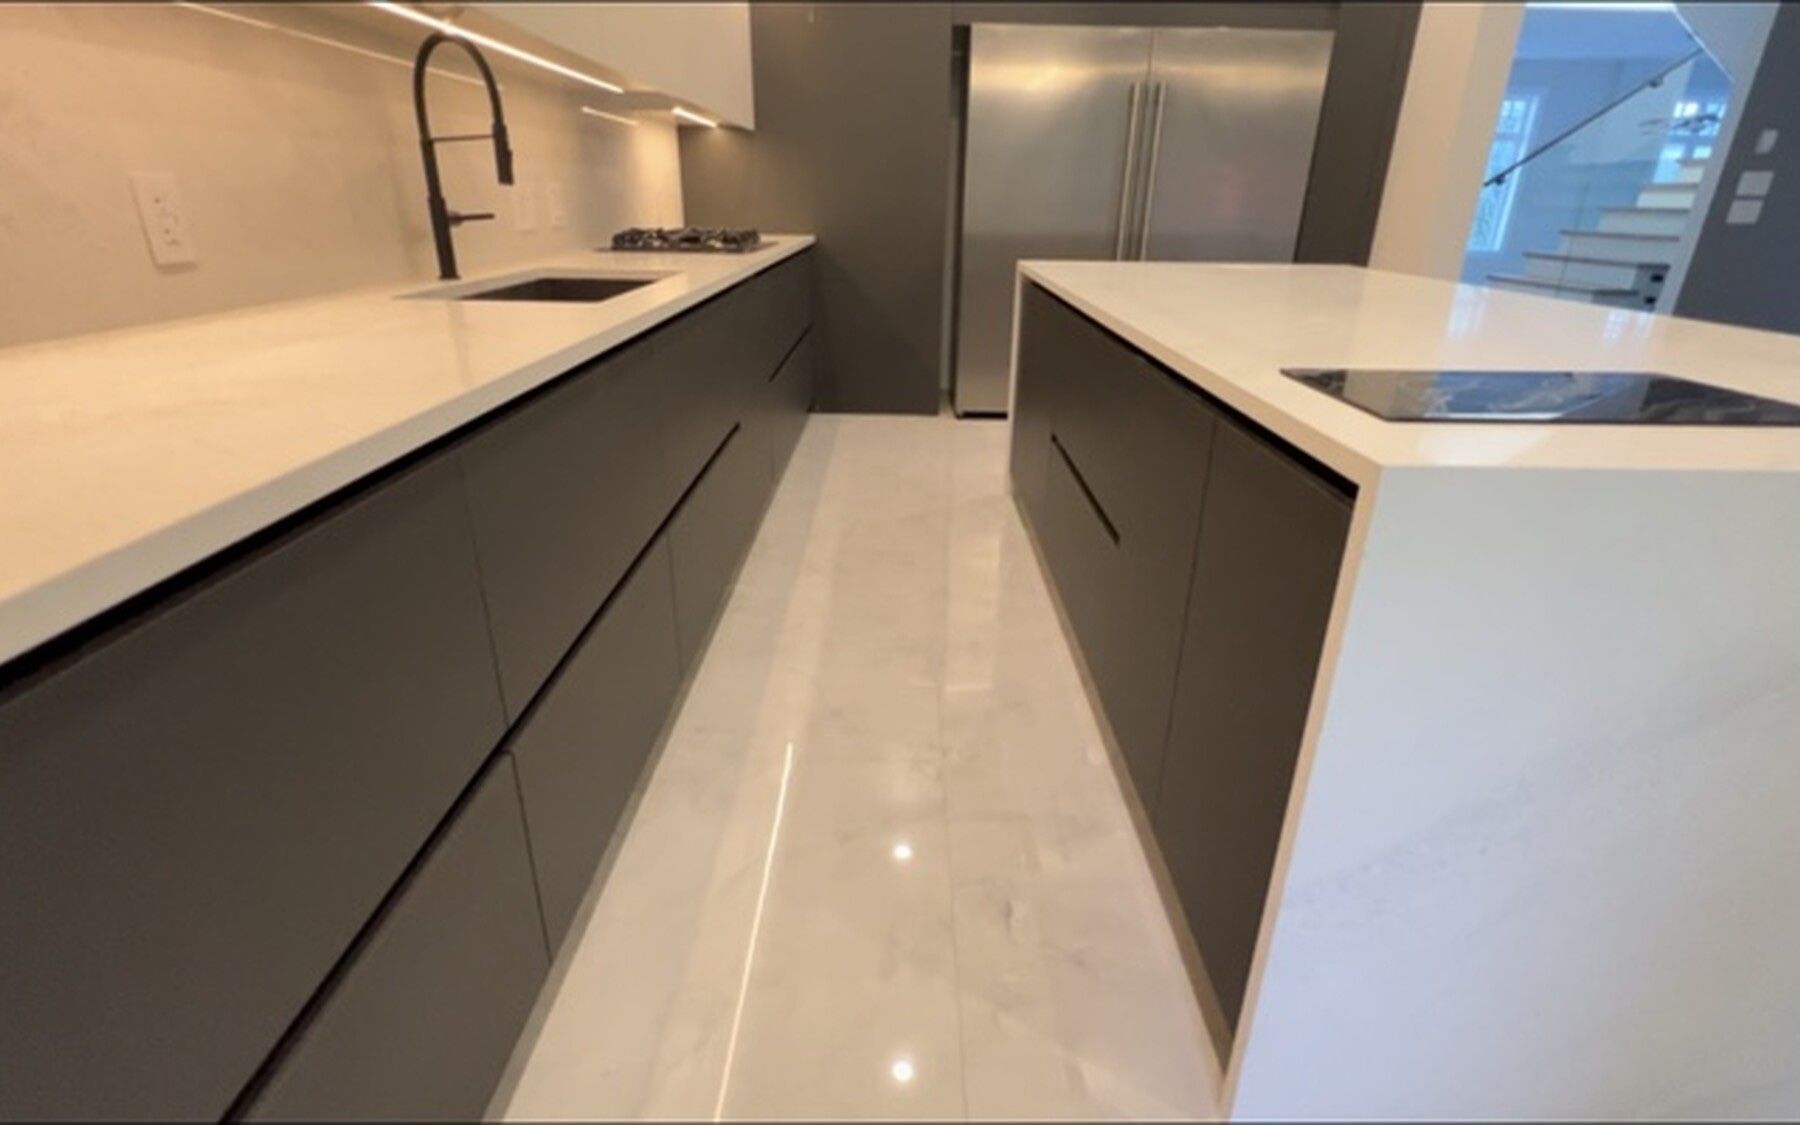
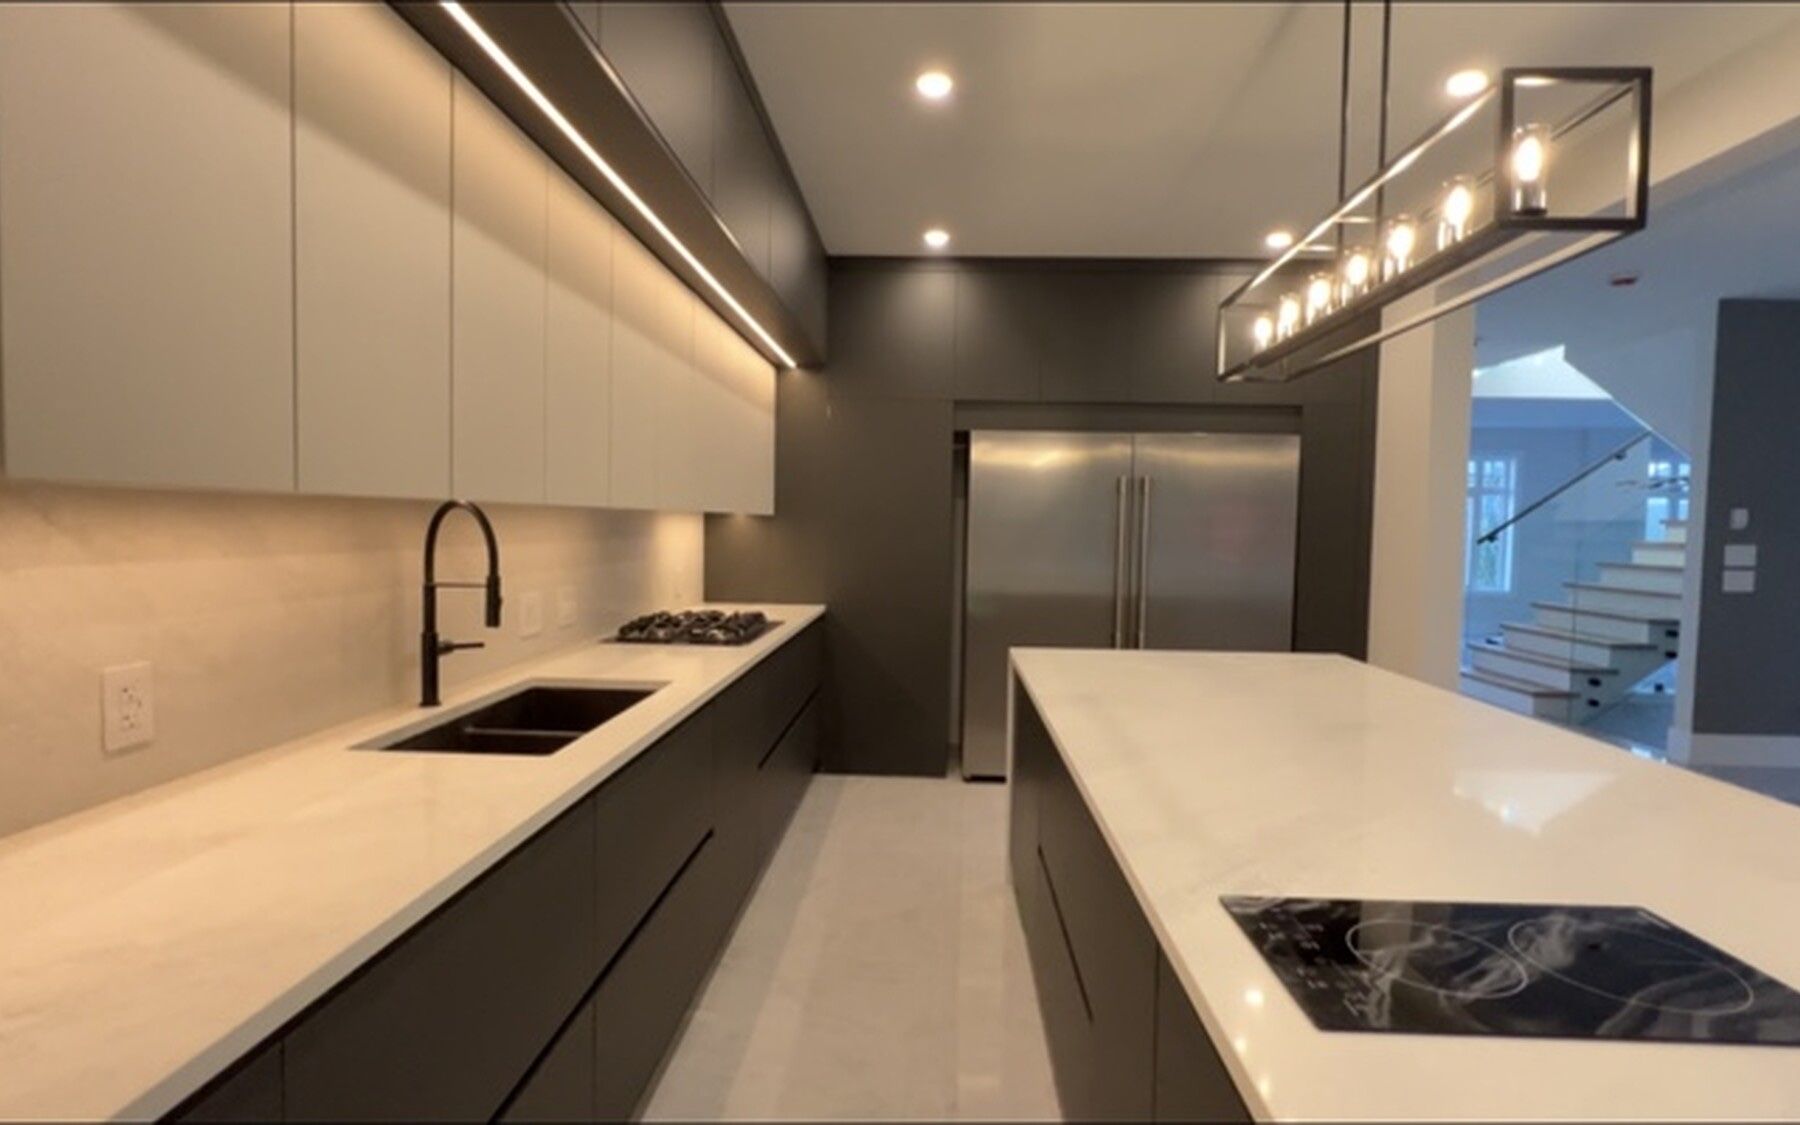
Protection off, integrated LED live, the island lit by a single linear pendant. One connected space, with a clear line of sight from the range through to the living area — exactly what the wall used to prevent.
One connected space, designed for everyday living.
Tell us about your space and we'll map out what's possible, with a clear, fixed quote before any work begins.